

Wood tables, like all wood furniture, are prone to scratches and damage. Daily use can result in dings, scrapes, and wear on the finish—not to mention the deeper damage like gouges, burn marks, and liquid ring marks.
Any pet owner or parent can attest to the fact that accidents happen, and these often affect the furniture we use the most. Too many pets have made wood table legs into chew toys and scratching posts. Some wood tables are soft enough that a child can scratch their name into the side with their fingernail, as I discovered growing up.
Depending on how dark the finish is and how soft the wood is, the damage to your table might be more frequent, or more obvious. If you’re trying to fix up a minor scratch in a new wood table or restore your old one to its former glory, repairing scratches can make a big difference in the appearance.
Subscribe to Mulberry Unlimited to get coverage for all your furniture pieces under the same product protection plan. You'll be able to file unlimited claims, access 24/7 customer support, and more, all without any deductibles or hidden fees. It's the ultimate furniture protection plan for the things you use most.

Why tables get scratched—and what to do about it
Scratches happen when the finish and top layer of wood are scraped away to show the unfinished wood underneath. A light wood with a dark stain and dark finish will have particularly obvious scratches, as the wood beneath is often a different color.
When you’re repairing scratches, you want to fill in the scratch and stain the exposed wood to match the finish color.
There are many methods listed online for simple items that provide miracle fixes or extensive (and expensive) repairs that are time consuming. Depending on the type of damage and your goals in fixing it, you might opt for one method over another. We’ve outlined the items required for each method and the circumstances in which you want to use them.
Best methods for repairing a wood table
If you have a long list of things to fix on your table, the order you do them in is key. First, always clean the table well with a gentle cleanser or dish soap and water, then dry. Then, start with minor surface scratches before getting into deeper gouges. If you have both, you may choose to use different methods on each.
Now—onto the methods!
1. Wood filler
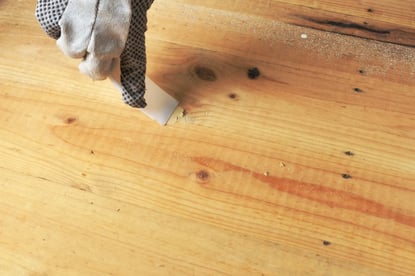
Wood filler is a paste or putty designed specifically for, well, filling in wood. Wood filler dries quickly and provides a durable surface. It repairs the deeper damages, making it well-suited for gouges, nail holes and filling in gaps.
When to use it
It’s especially good for gouges and deeper scratches—those that took off more than the top layer of wood.
Things you'll need
- A good wood filler
- A plastic scraper, putty knife, or old credit card
- Sandpaper
Steps for repair
- Pick a wood filler that matches your wood color.
- Use a putty knife or scraper to spread the filler along the scratch until it’s filled.
- Use the knife or scraper to scrape off any excess filler above the scratch.
- Let the filler dry, for 30 minutes or the length of time on the filler packaging.
- Rub fine sandpaper directly over the dried filler to blend it into the wood, rubbing along the wood grain.
- Wipe off any excess filler with a damp cloth.
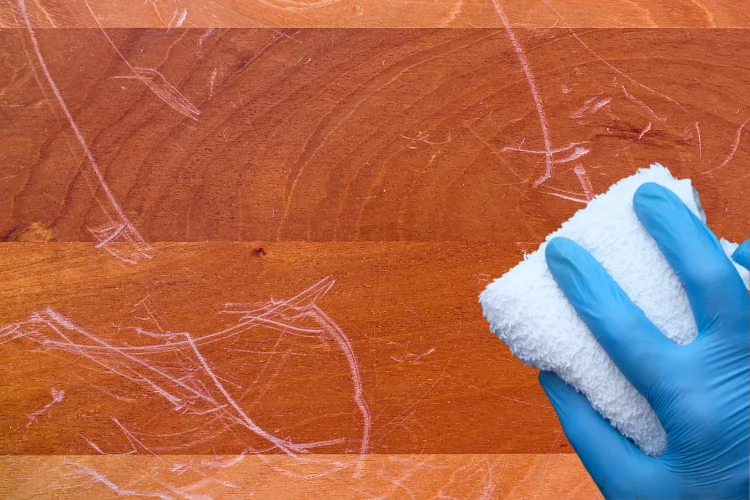
2. Oil and vinegar
You don’t need to go out and buy speciality equipment - this tried and true method uses common kitchen shelf products to remove light scratches from wood. This works by having the oil expand the wood to fit the space, while the vinegar stains the wood.
When to use it
With light scratches, when you’re looking for a quick, no hassle fix. If you have very superficial scratches, especially in a light colored surface, and you want to decrease the appearance.
Things you will need
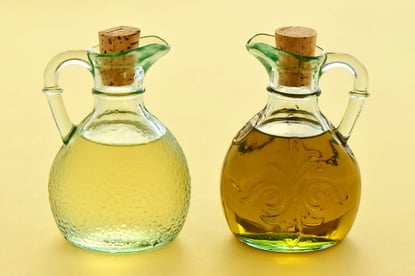
- Vinegar; either white vinegar or apple cider vinegar
- Oil; canola or olive oil are fine
- At least two pieces of a soft cloth
Steps for removing scratches
- Mix vinegar to oil in a ratio of 1:1.
- Dip the cloth in the mixture and squeeze out excess.
- Rub this cloth firmly on the table until the scratch goes away.
- Let the solution sit on the table for approximately two to three minutes.
- If you have darker wood finish, repeat until the repaired scratch matches your furniture color.
- Clean the tabletop with the other cotton cloth.
3. Wax fill stick and furniture marker
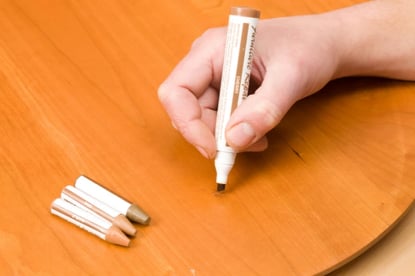
This method provides a good fix for medium scratches, as it both fills them in and color matches the finish. It does require buying extra things you don’t have at home, but is quicker and more beginner-friendly than the wood filler method.
When to use it
For medium depth or width scratches, when you have a darker furniture color
Things you will need
- A felt-tipped furniture marker and wax fill stick that match your table color (you can buy these together)
- A clean soft cloth
- Plastic scraper or credit card
Steps for removing scratches
- Use a furniture marker to draw in the scratch space until it matches the surrounding area.
- Remove extra color outside of the scratch with a dry cloth.
- Let fully dry.
- Next, use the matching color wax fill stick to fill in the scratch by rubbing it until it’s overfilled.
- Use the scraper or card to remove excess wax so that the gouge is filled even with the surrounding surface.
4. Walnut
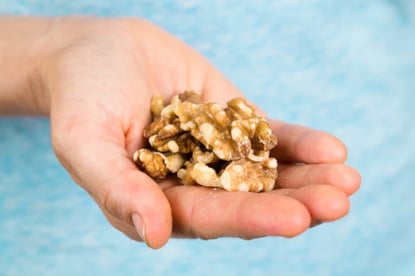 This gentle, easy method is another one that relies on common pantry items. The walnut meat helps to fill the crack, while the walnut oil works to expand and stain the wood to blend the scratch.
When to use it
When you have a small, shallow scratch in a light to medium color wood. This is by far the gentlest method for your wood, so if you’re nervous about taking on other methods, it’s an easy place to start with a small scratch.
Things you will need
- Raw unsalted walnut halves
- A soft cloth
Steps for removing scratches
- Break a raw walnut half open.
- Rub the inside walnut meat into the scratch in the direction of the groove.
- Use the cloth to brush away any excess walnut meat.
- Let sit for 5 minutes, or until the walnut oil stains the wood color.
Protect new furniture
We love these methods to make simple repairs on scratches. But if your old wooden table has taken substantial damage and isn’t repairable, it might be time to look into replacing it.
Think about the times you most often see damage and plan accordingly. Have regular dinner-time damage? Avoid common damage by using coasters under cups, potholders under hot dishes, and a tablecloth for spills. Seeing pen ink and nail polish? Put down a plastic table mat when your table is used as a salon or office.
Get accident protection coverage in the form of a furniture protection plan. No matter how many preventative measures you take, when you’re using a wood table, everyday damage is bound to happen. Subscribe to Mulberry Unlimited for coverage that includes accidental damage to make sure your furniture is covered from incidents like scratches, liquid rings, and burn marks.


